How to Create a MetaMask Wallet
To participate in NFT transactions as a creator or collector, you’ll need a crypto wallet to mint and purchase artwork. For the Ethereum blockchain, MetaMask is a popular wallet solution.
Read on to learn how to create a MetaMask wallet.
Installing MetaMask to your browser
To create a digital wallet with MetaMask, you need to install the extension. You can install it for Chrome, Firefox, Brave or Opera browsers. This example covers the Chrome extension:
Go to metamask.io/download
Select ‘Chrome’ and click on ‘Install MetaMask for Chrome’ which should prompt a new window that takes you to the Chrome Web Store. (If this does not appear, check your pop-up blockers)
Click ‘Add to Chrome’
Click ‘Add extension’
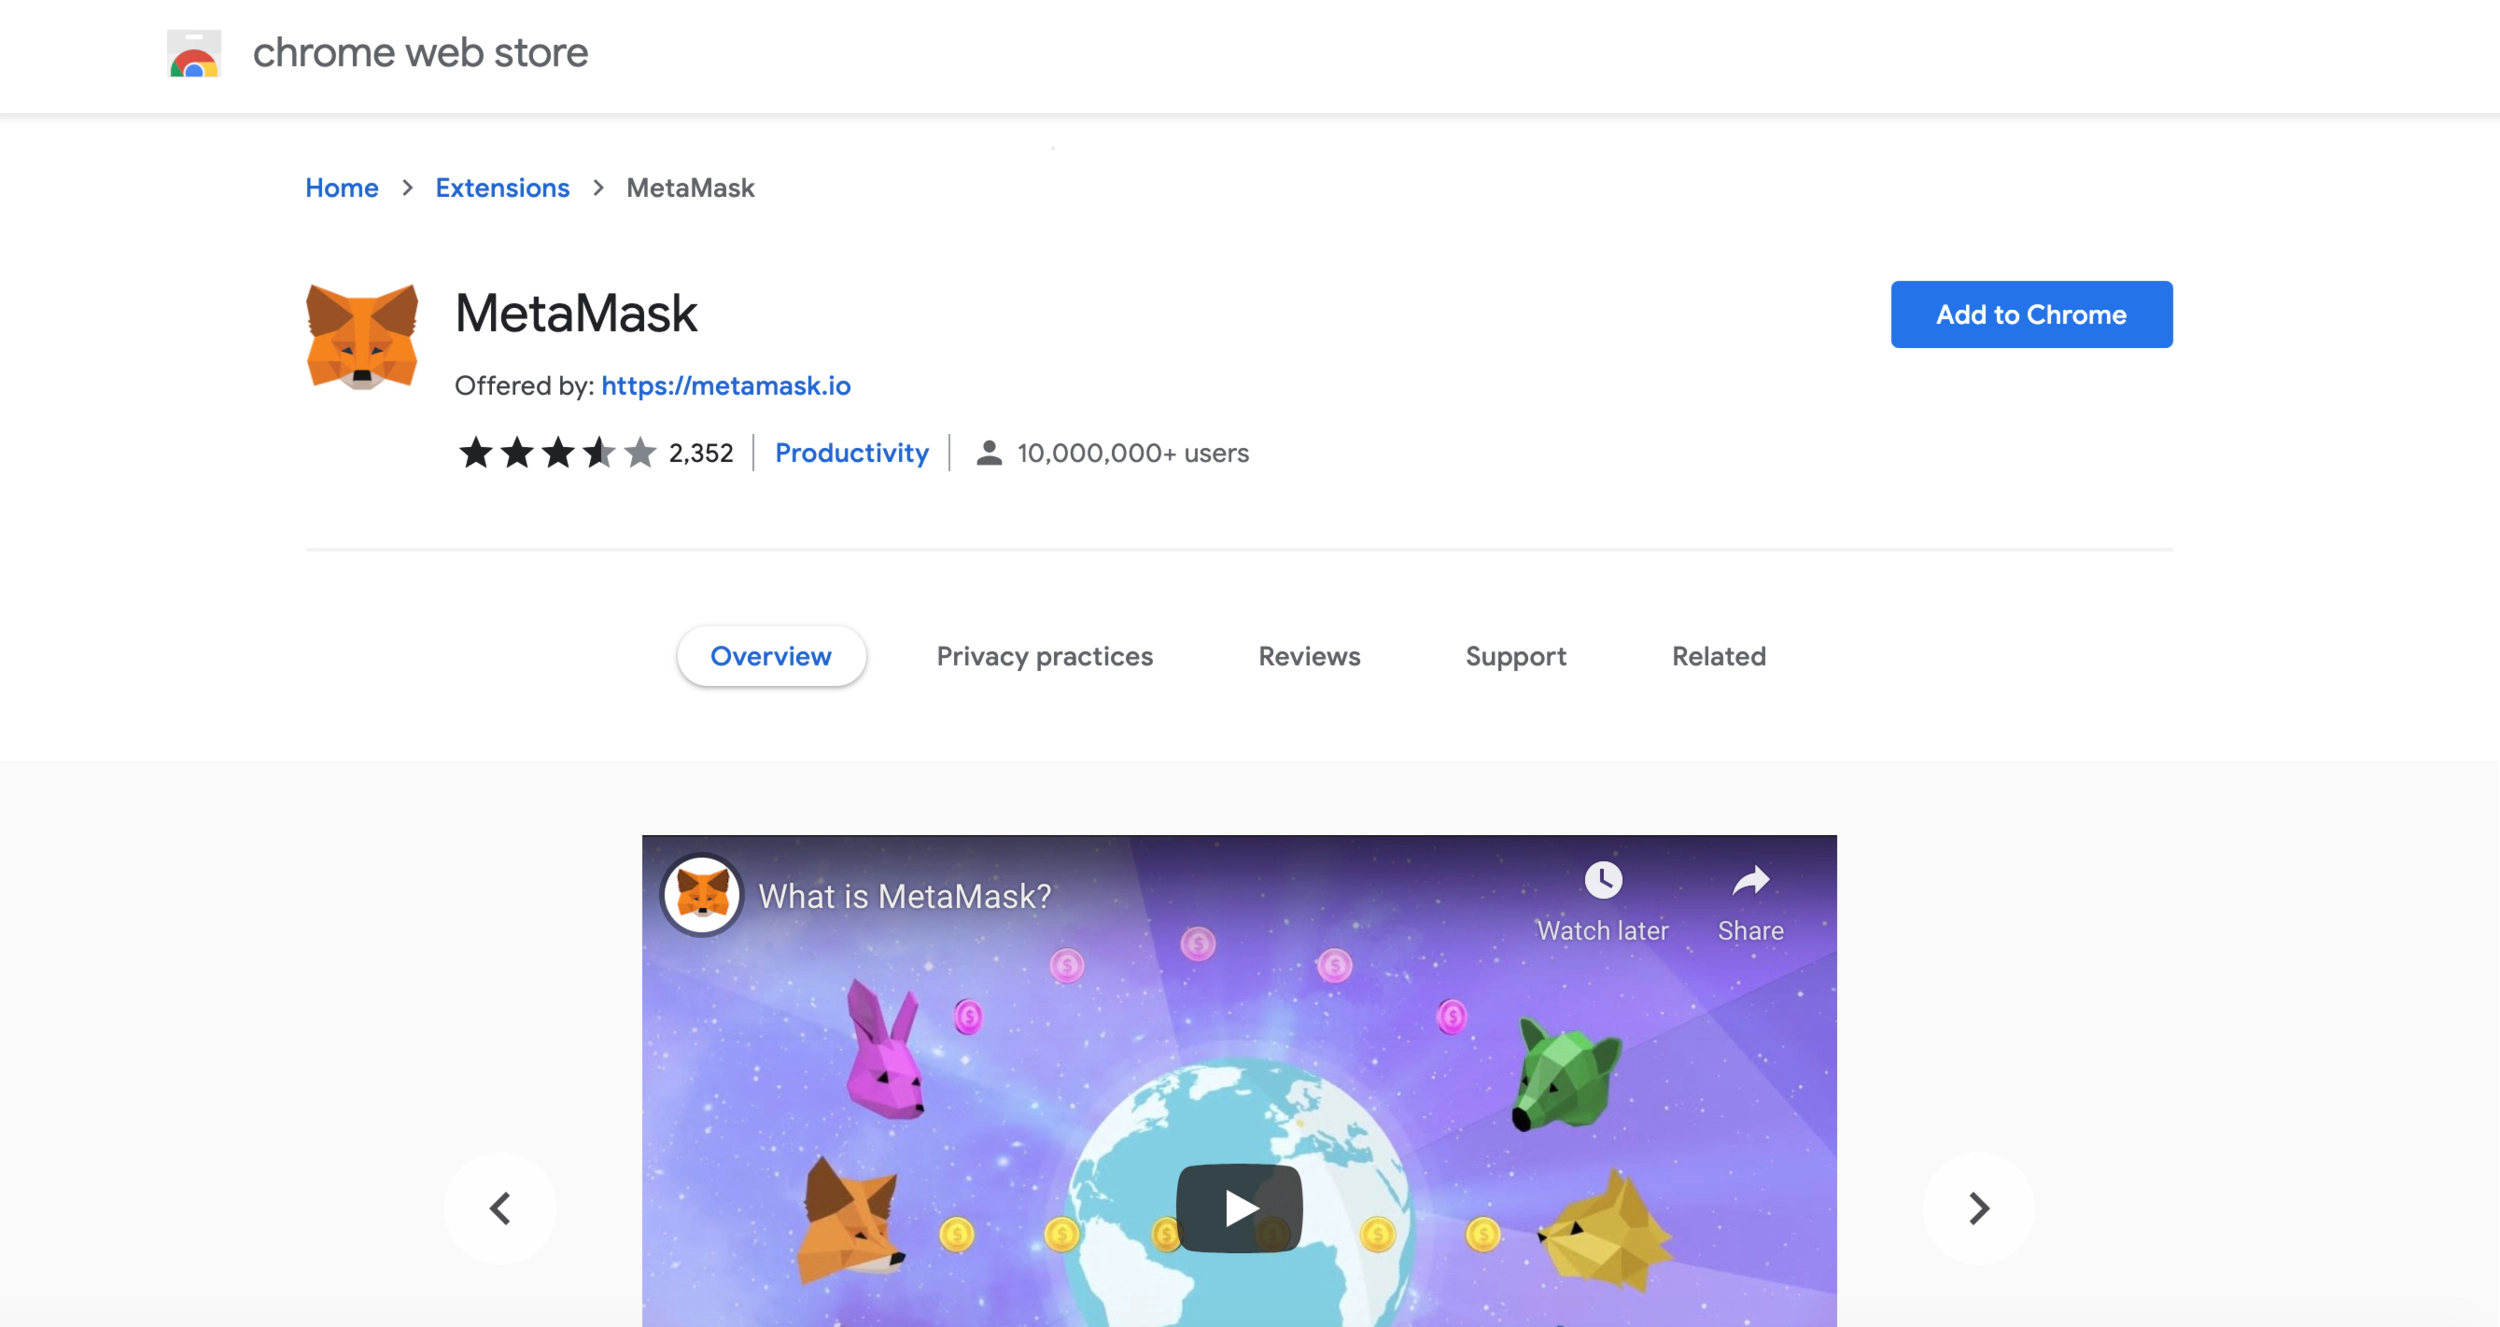
This is the official MetaMask extension in the Chrome Web Store. Make sure you’re adding the official extension.
Creating a MetaMask Account
The next step is to create an account.
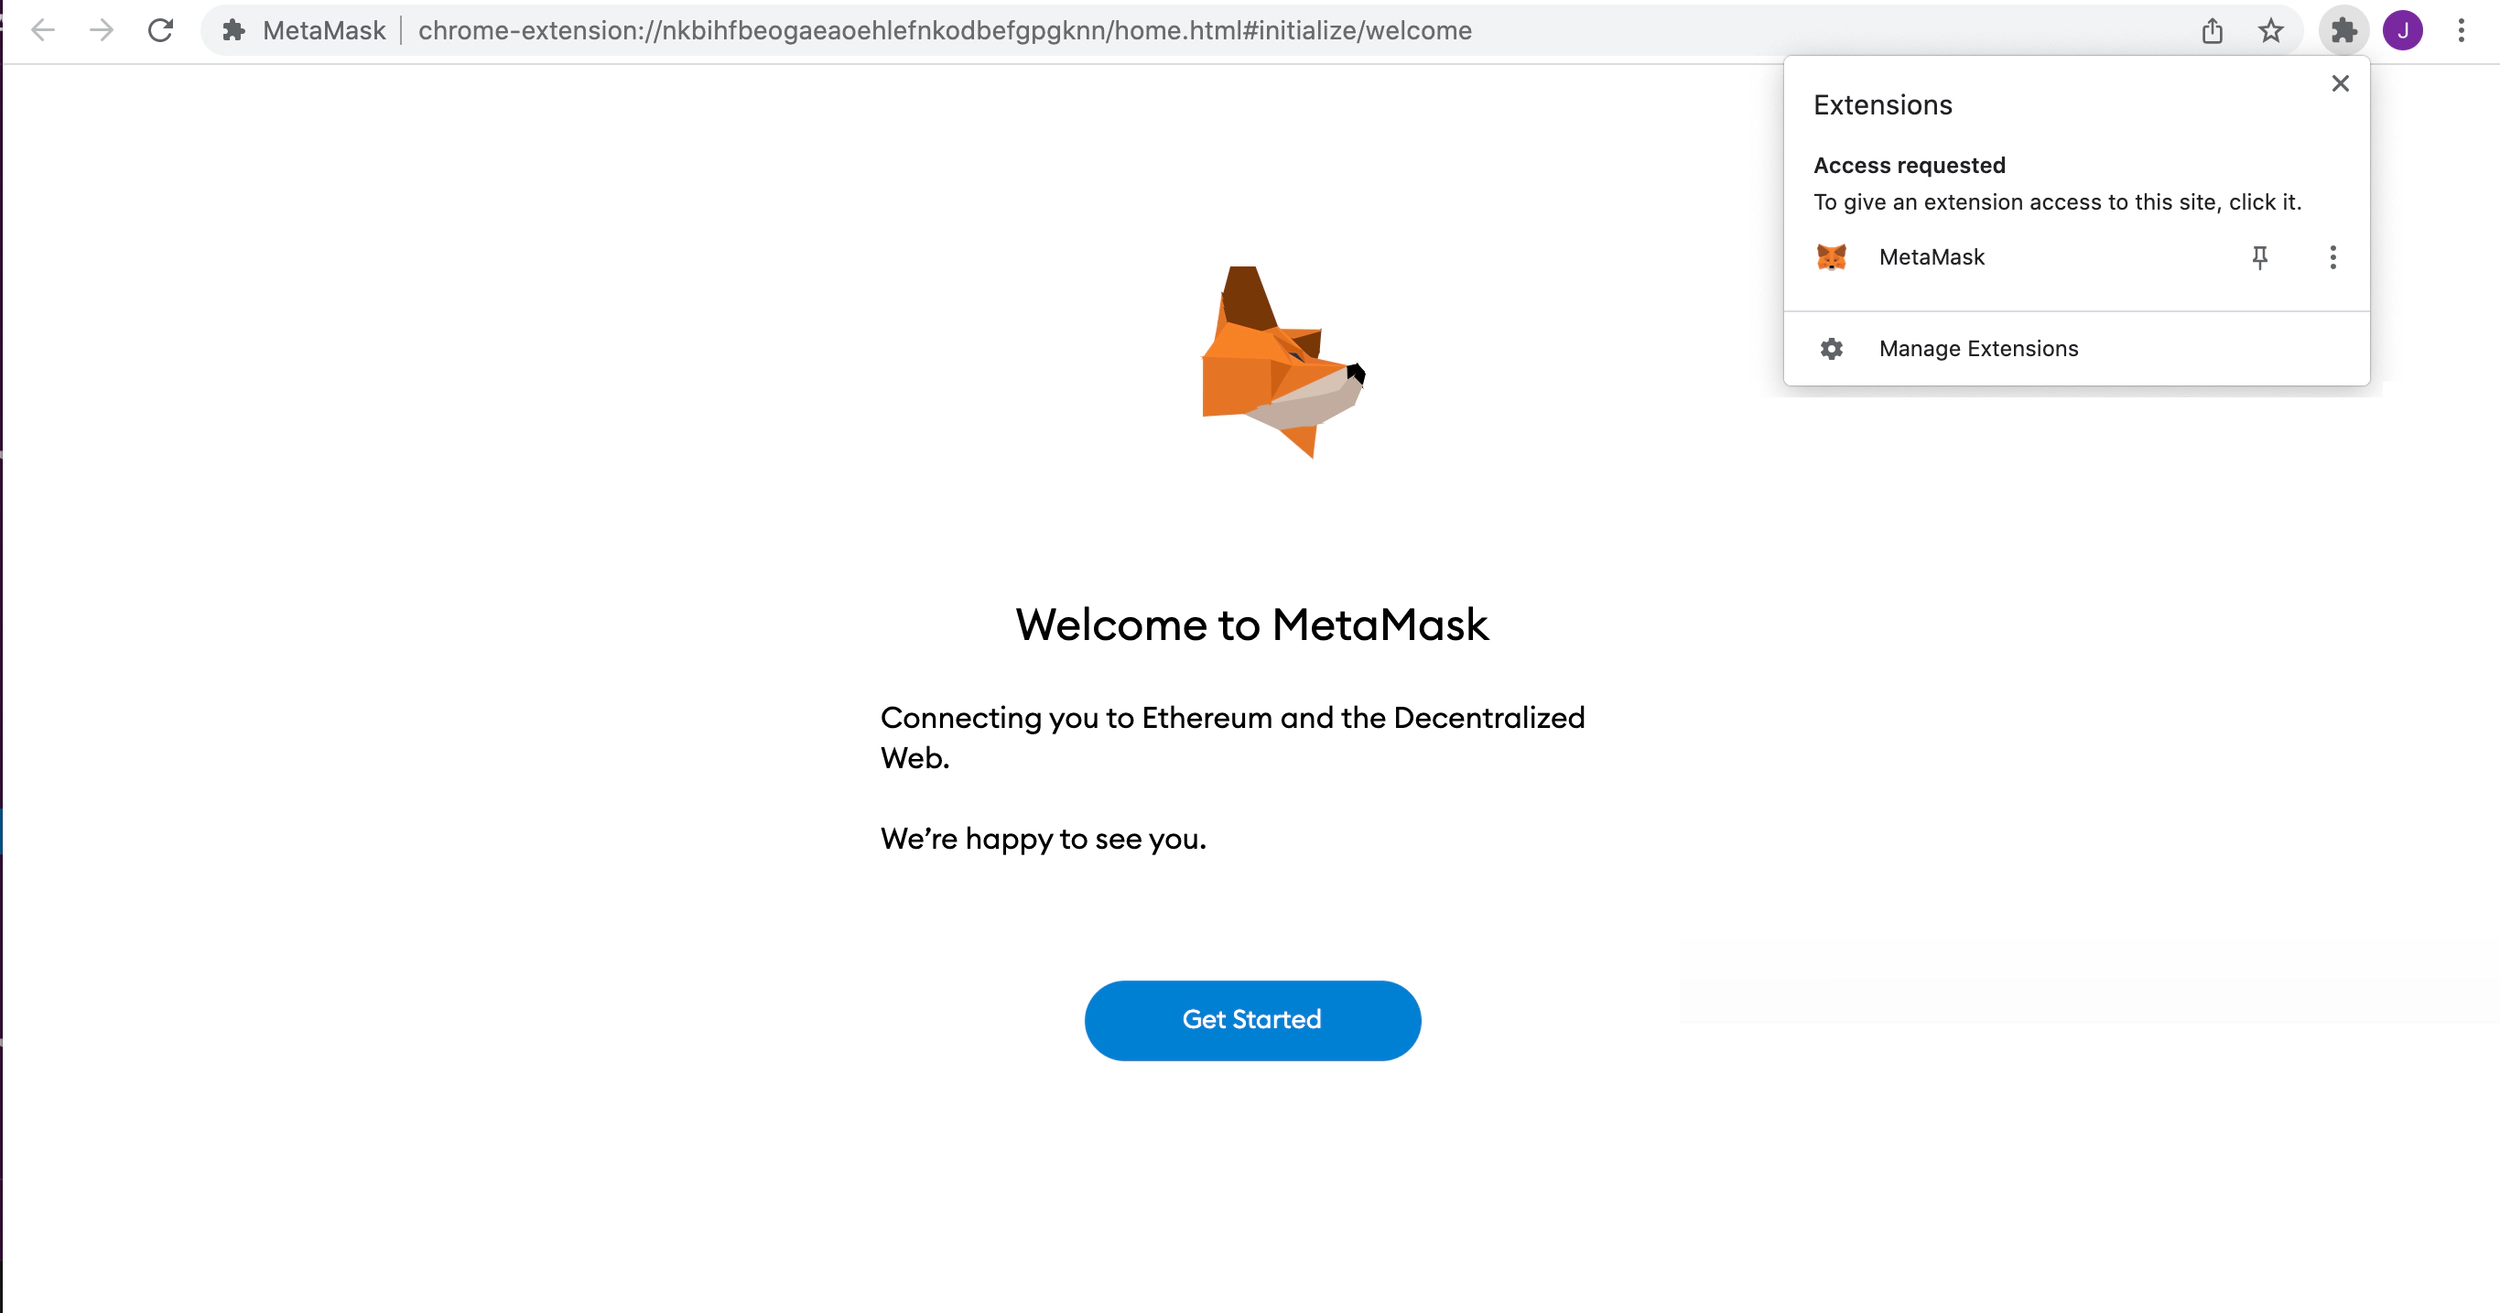
Click on the puzzle icon in the upper right corner to access your Chrome extensions and select ‘MetaMask’. This should prompt a new window to appear.
Click ‘Get Started’
Click ‘Create a Wallet’ to create a new wallet.
You will be asked to create a new password. Create a strong password and click Create.
Click ‘Next,’ then accept Terms of Use.
Click ‘Reveal secret words.’
You will see a 12 word phrase. Save the phrase as a file or copy them and keep them safe somewhere. Then click ‘Next.’
Security tip: Write this phrase on a piece of paper and keep it in a safe location.
Verify your secret phrase. Click ‘confirm’ when done.
Congratulations! You have now created your MetaMask account.
To find your MetaMask wallet, click on the Puzzle icon as seen here.
Finding Your MetaMask Public Key
You may be asked by friends, vendors and others for your wallet address. What they mean by this is your wallet’s public key. It is safe to share your public key, but NEVER share your private key.
Here’s where you’ll find it:
Open MetaMask
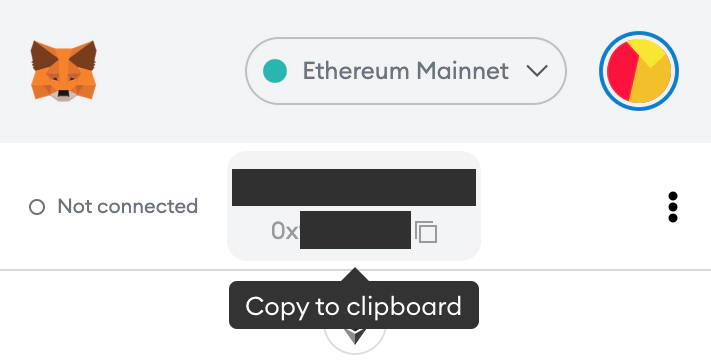
Click on your wallet name. Your public key is underneath and will be copied to your clipboard.
Adding Ethereum to Your MetaMask Wallet
To purchase or mint artworks, you’ll need to pay in Ethereum.
To purchase Ethereum, you’ll need to create an account on an exchange like Coinbase. Purchasing ETH on Coinbase is relatively easy for beginners. More information is available in their Help Desk.
Once you have ETH in your Coinbase wallet, you can go to the Withdraw section to send it to your MetaMask wallet.
Select Ethereum and you’ll be presented with a box to input the public key of your MetaMask wallet. To find your public key on MetaMask, go to the Chrome extension and at the top you should see it. Make sure you’re on the Ethereum Mainnet. The public key should be a string of numbers and letters.
ETH transactions can take minutes or in some cases, up to hours. Wait patiently and keep checking your MetaMask to see if the funds come through. Once the ETH is transferred into your MetaMask, you’re ready to mint and spend on ETH-based marketplaces like Opensea, Rarible, SuperRare and more.
Adding Polygon Network to Your MetaMask Wallet
Opensea also includes the ability to mint and purchase on the Polygon (MATIC) network, a layer 2 solution for Ethereum. To add Polygon to your MetaMask wallet, follow the below instructions or click here for the Polygon website documentation.
Open your MetaMask wallet.
Click on Network (it should say ‘Ethereum Mainnet’ as default)
Select ‘Add Network’
Use the below credentials.
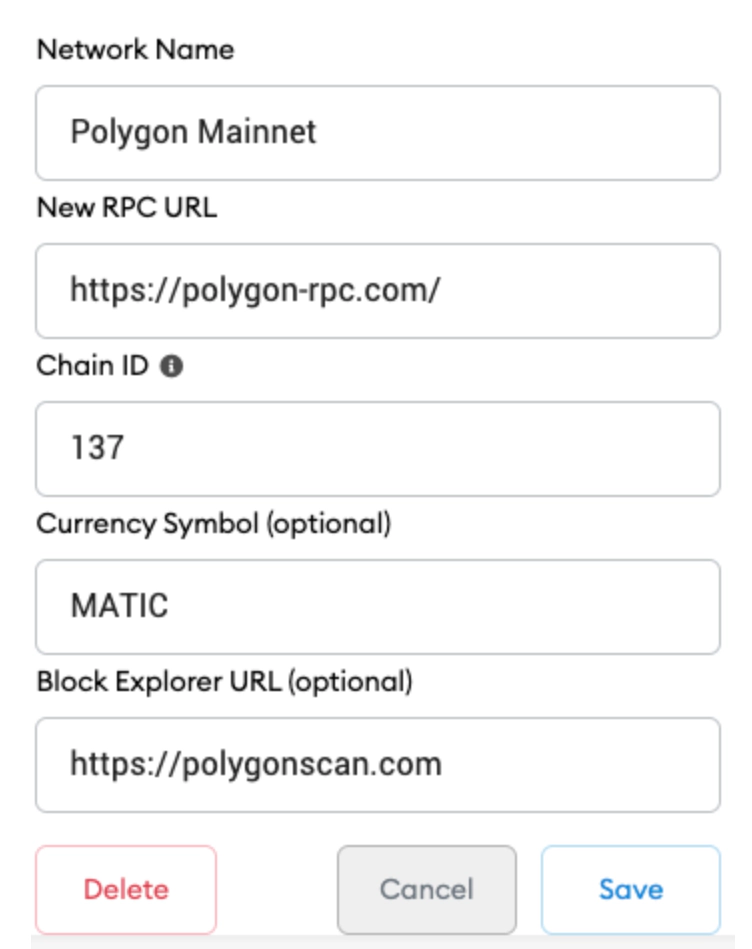
Network Name: Polygon Mainnet
New RPC URL: https://polygon-rpc.com/
Chain ID: 137
Currency Symbol: MATIC
Block Explorer URL: https://polygonscan.com
Now that you have a MetaMask, you’re ready to create NFTs. Try Playform to create original, novel artworks to sell as NFTs. New users get $15 in free credits. Try it now!